Composting at home is a rewarding and eco-friendly way to manage kitchen scraps and yard waste. By turning organic materials into rich, nutritious soil, you can improve your garden’s health and reduce the amount of waste sent to landfills. If you’re new to composting, this guide will walk you through the basics and provide helpful tips to get started successfully.
What Is Composting?
Composting is the natural process of breaking down organic materials like food scraps, leaves, and grass clippings into a dark, crumbly substance known as compost or humus. This nutrient-packed material enriches soil, helping plants grow stronger and healthier.
Benefits of Composting at Home
– Reduces landfill waste: Composting keeps organic matter out of landfills, reducing greenhouse gas emissions.
– Improves soil health: Compost adds valuable nutrients and improves soil structure.
– Saves money: Homemade compost can reduce or eliminate the need to buy commercial fertilizers.
– Supports plants: Healthy soil means healthier plants, flowers, and vegetables.
Getting Started: Choosing Your Composting Method
Before you begin, decide which composting method works best for your space, lifestyle, and goals. Here are a few common options:
1. Compost Bin
A compost bin is a contained, tidy way to compost. It keeps pests out and helps maintain moisture and heat.
– Great for small yards or patios.
– Available in various sizes and styles.
– Can be purchased at garden centers or made from materials like wood pallets.
2. Compost Pile or Heap
If you have more space, you can compost in an open pile.
– Easier to add large amounts of garden waste.
– Requires turning to aerate and speed decomposition.
– Less contained so may attract pests if not managed.
3. Vermicomposting (Worm Composting)
Using worms to break down food scraps quickly in a bin.
– Ideal for indoor composting.
– Requires a bit more attention to maintain worm health.
– Produces worm castings, an excellent fertilizer.
Essential Composting Materials: Browns and Greens
For compost to break down properly, you need a balanced mix of “browns” and “greens.”
– Browns: Dry, carbon-rich materials like dead leaves, straw, cardboard, paper, and wood chips.
– Greens: Moist, nitrogen-rich materials like vegetable scraps, coffee grounds, grass clippings, and fresh plant trimmings.
A general guideline is to combine about three parts browns to one part greens.
Step-by-Step Beginner Composting Tips
1. Choose a Suitable Location
Pick a spot with good drainage and some shade. Compost heaps tend to heat up during decomposition, so partial shade helps maintain moisture.
2. Start with a Layer of Browns
Lay down a layer of coarse browns, such as twigs or straw, to help with air circulation at the bottom.
3. Add Greens and Browns Alternately
Keep adding layers of greens and browns. Chop up larger scraps to speed up decomposition.
4. Keep It Moist
Your compost pile should be as damp as a wrung-out sponge. Water occasionally if it feels dry, especially during hot weather.
5. Turn or Aerate Your Compost
Stir or turn your compost every 1-2 weeks to add oxygen. This helps speed up the breakdown process and prevents odors.
6. Monitor Temperature
A healthy compost pile heats up as microbes break down the material. It often reaches between 130–160°F (54–71°C). If it cools down, turn it to revive activity.
7. Know What Not to Compost
Avoid adding:
– Meat, dairy, or oily foods (can attract pests and cause odor)
– Diseased plants or weeds that have gone to seed
– Pet waste (may contain harmful pathogens)
– Large branches or anything that takes too long to break down
Troubleshooting Common Compost Problems
– Smelly compost: Usually too wet or too many greens. Add more browns and turn the pile.
– Pile not heating up: May need more greens or moisture. Turn pile to add oxygen.
– Pests in compost: Use a bin with a lid, bury food scraps, avoid meat and oily foods.
When Is Compost Ready?
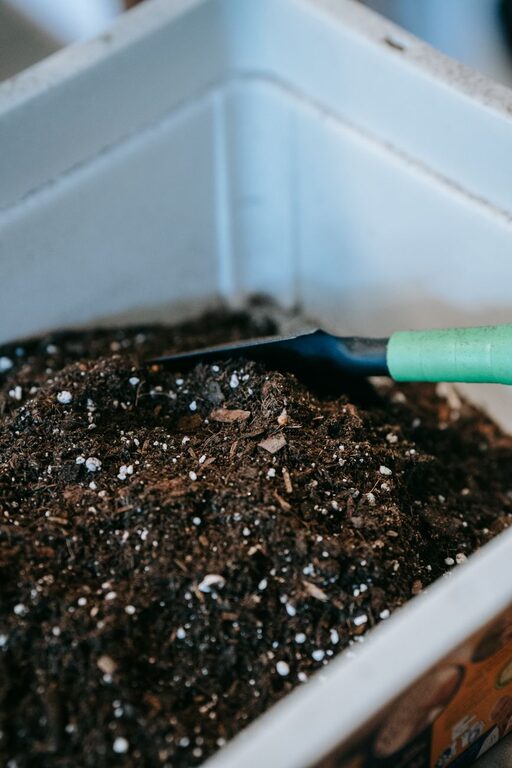
Compost is ready when it looks dark, crumbly, and earthy-smelling. Depending on conditions, this can take anywhere from a few months to a year. Finished compost should not look like the original scraps.
Using Your Finished Compost
Mix your homemade compost into garden beds, use it as mulch, or enrich potting soil. It helps retain moisture, improves texture, and provides nutrients for plants.
Final Tips for Success
– Be patient! Composting is a natural process and takes time.
– Keep a small kitchen bin to collect scraps daily for easy transfer to your compost.
– Experiment with different materials to see what works best in your environment.
– Consider worm composting for limited indoor spaces or apartment living.
Composting at home is a simple practice that benefits your garden and the planet. By following these beginner tips, you’ll be well on your way to creating rich, healthy soil with minimal effort. Happy composting!
About the Author